How to set up your Zerynth Device
Davra integration and ZM1-EVA Evaluation Board
In this demo, we will publish data using the ZM1-EVA Evaluation board, create and enable a Davra integration and send the data to a Davra dashboard.
In this tutorial, we will be using:
Zerynth SDK (opens new window) – this includes VSCode with the VSCode Zerynth extension (opens new window), which is our default development environment.
Zerynth Device Manager (ZDM) (opens new window) – it helps you register, organize, monitor, and remotely manage Zerynth IoT devices at scale.
Your tenant on the DAVRA Platform here http://italy.davra.picode.it (opens new window)
Download and install Visual Studio Code: https://code.visualstudio.com (opens new window)
Download the Zerynth SDK for your computing platform: https://www.zerynth.com/zsdk (opens new window)
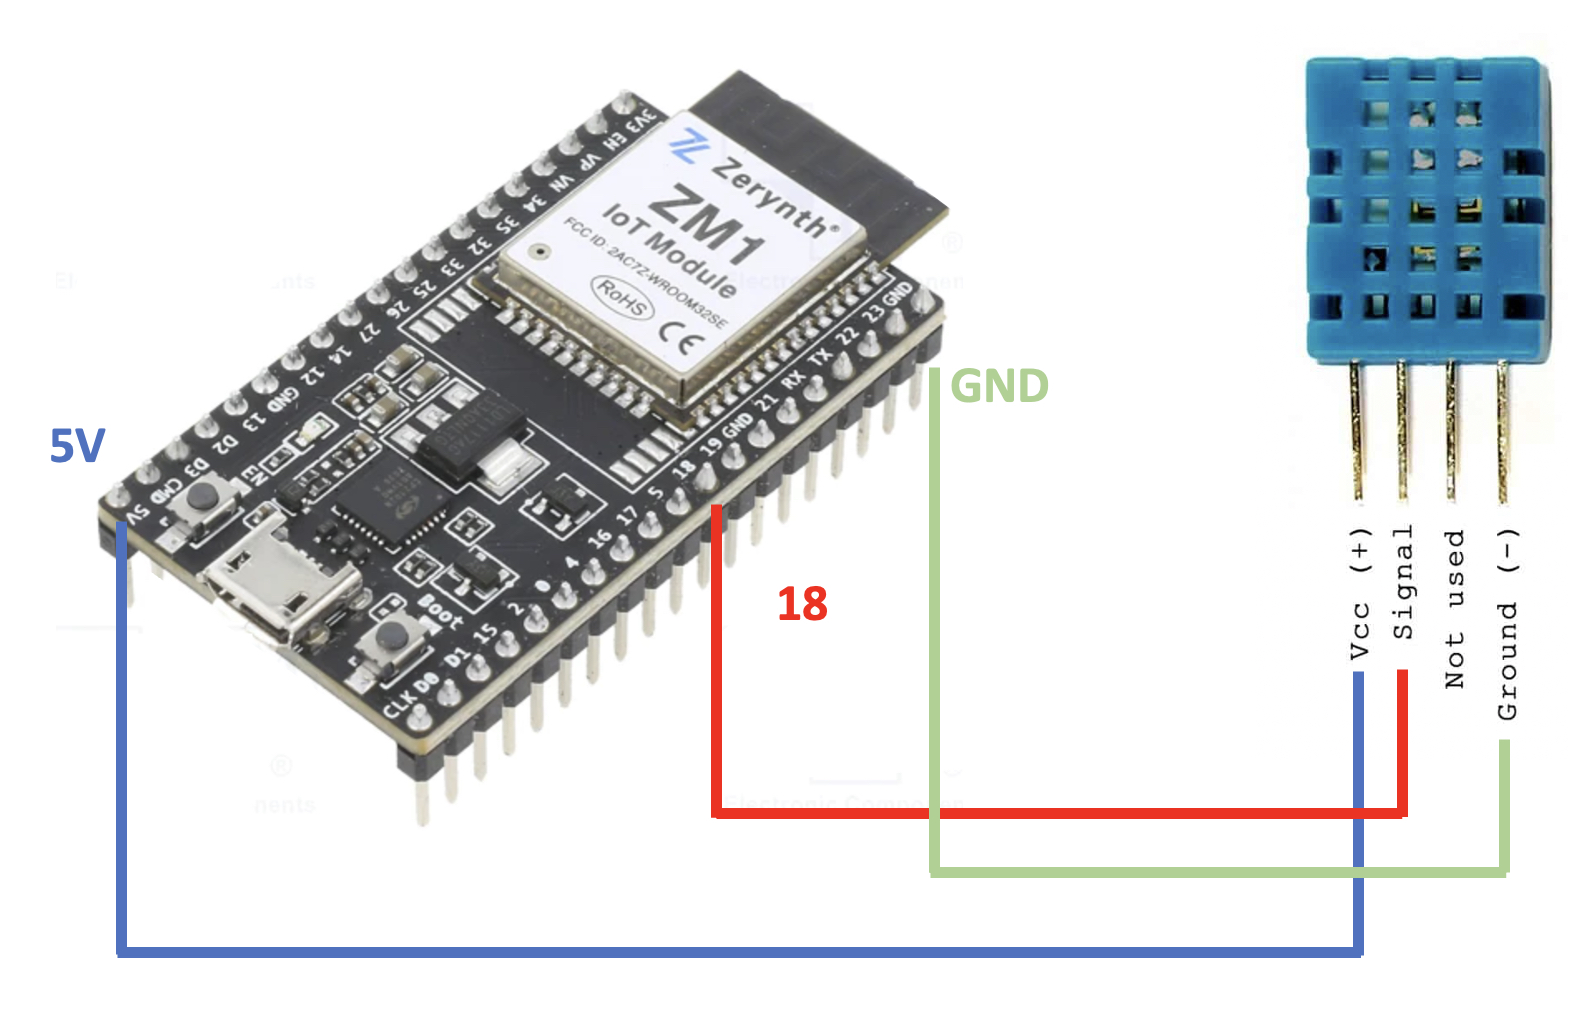
Connect the sensor to the EVAL BOARD like in the following picture:
1. Import the Davra project
Connect the ZM1-EVA to the PC with a micro-usb cable then clone thisGitHub repository (opens new window) into a well-known directory. (we will need it later)
This repo contains a Zerynth project that configures the ZM1-EVA Evaluation board for sending humidity and temperature readings from an attached DHT11 sensor to the Zerynth Cloud.
Install and open the Zerynth SDK, press Ctrl+Shift+P and search for Zerynth: Login; then login to the Zerynth Cloud or create a new account if you don’t have one.
To open the project, click on File -> Open from the top menu and select the path of the downloaded GitHub project
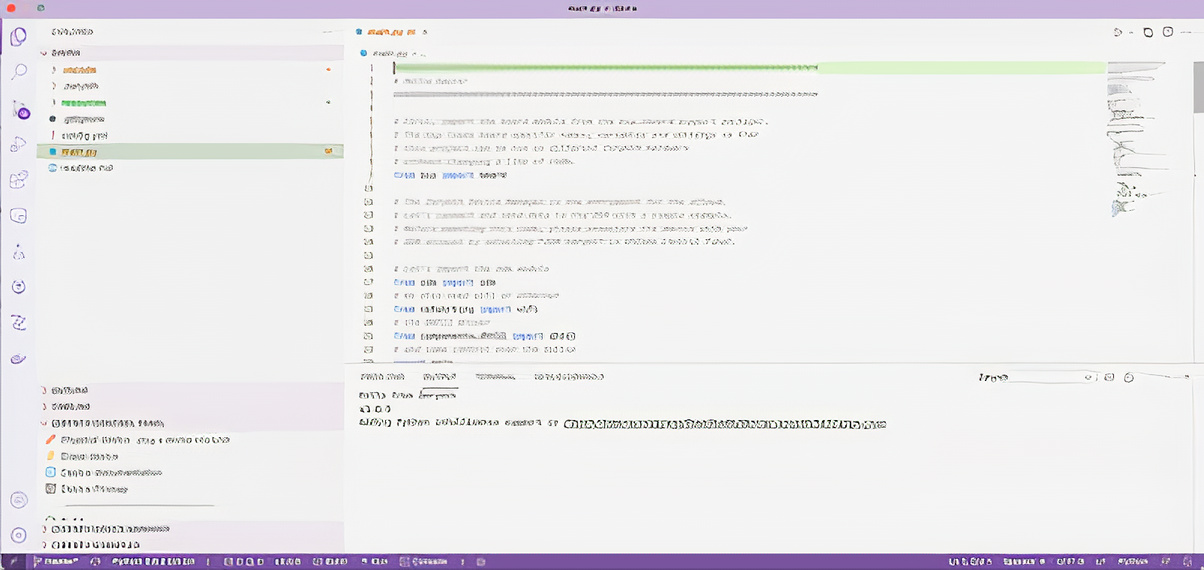
The project will open and a picture like the one below should appear:
2. Enable the device and configure it to send data
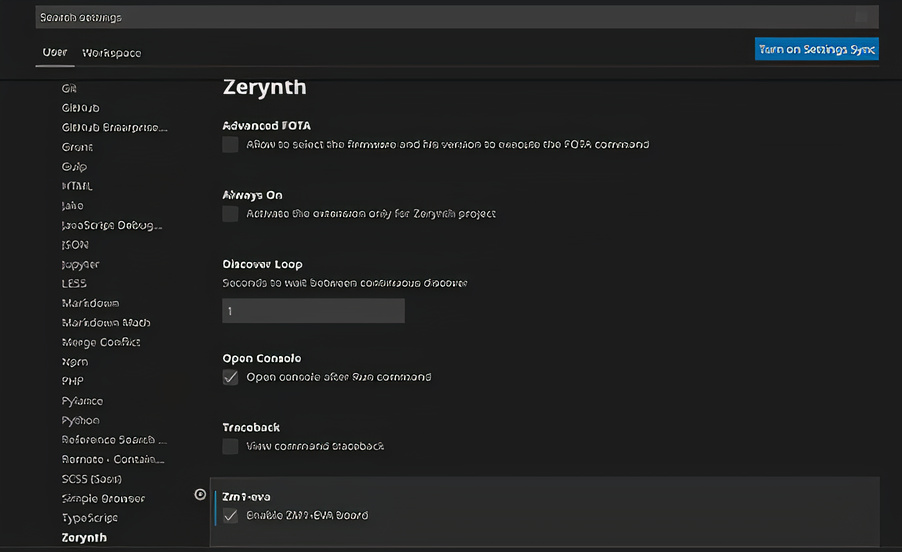
To be sure that the ZM1-EVA device support is enabled, press Ctrl+Shift+P and search for Preferences Open User Settings. This will open a dialog with two tabs (User and Workspace). Click on the **Extensi****on** menu item under the “User” tab, you will see a new menu. Click on the “Zerynth” item. Ensure that the ZM1-EVA board is enabled.
Provision and configure the Device
You only need to provision your device once for the lifetime of the device.
Just click Provisioning on the Zerynth Control Panel, you will be asked to create a cloud device, give it a name like my-iot-davra-device and accept the confirmation dialog and wait for a little.
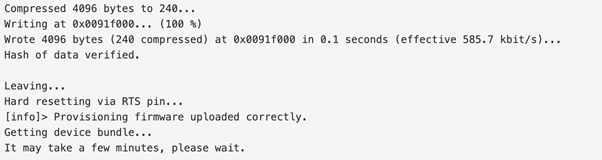
NOTE: don’t worry if you get several “fatal error” messages, it’s ok the system is auto-calibrating the serial connection speed. At the end of the process you should see something like this in the VSCode console.
After provisioning, in the control panel, You’ll find the cloud device is now assigned an ID.

Run the project
Open the main.py file in the project folder, and edit the rows 49 and 50 typing your WiFi SSID and password.
At this point, you are ready to click on the Run button! Your device will be automatically configured and it will start publishing data to the Zerynth Cloud.
If you open the device page from the Zerynth Cloud (opens new window), you will see real-time data sent from your device!
Create Davra integration
The last step to receive the data published from the device to your Davra dashboard is to create a Davra Integration.
Open the Zerynth Cloud (opens new window) and select the workspace containing the device you configured before (probably the “default” one).
Click on the Integrations button from the navbar on the left.
Click on the + New button on the top right, then select Davra from the dialog.
Davra integration dialog.
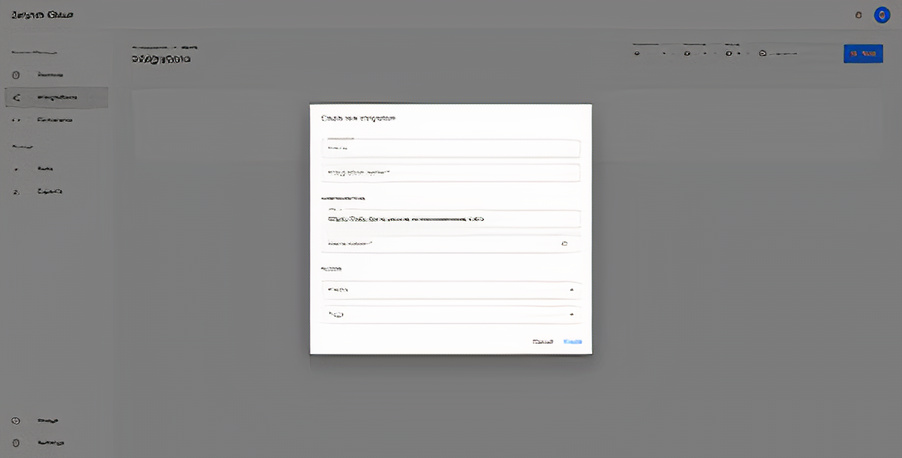
Choose a name for your integration, check the URL, type your personal Davra token and that’s all! Your data will be automatically forwarded to your Davra dashboard.
Connect to http://italy.davra.picode.it (opens new window) and use the credentials you have received together with your Davra token.
Click on Launch App in the ZM1 Davra Monitoring App Launch.
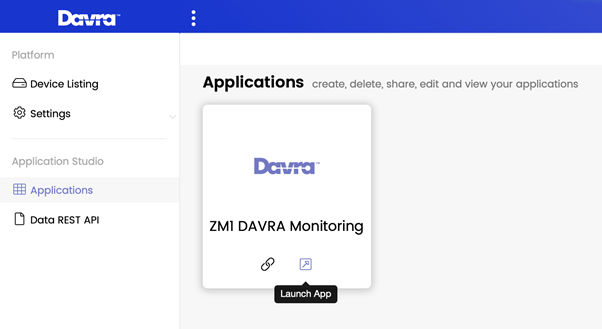
- Enjoy your first DAVRA integration!
For any help with this tutorial or to learn how to enrich this demo or build your own app, contact us at davra.italy@davra.com
AI and IoT insights to help you transform your business



Copyright © Davra Networks 2026. All rights reserved.
Cookie & Privacy Policy